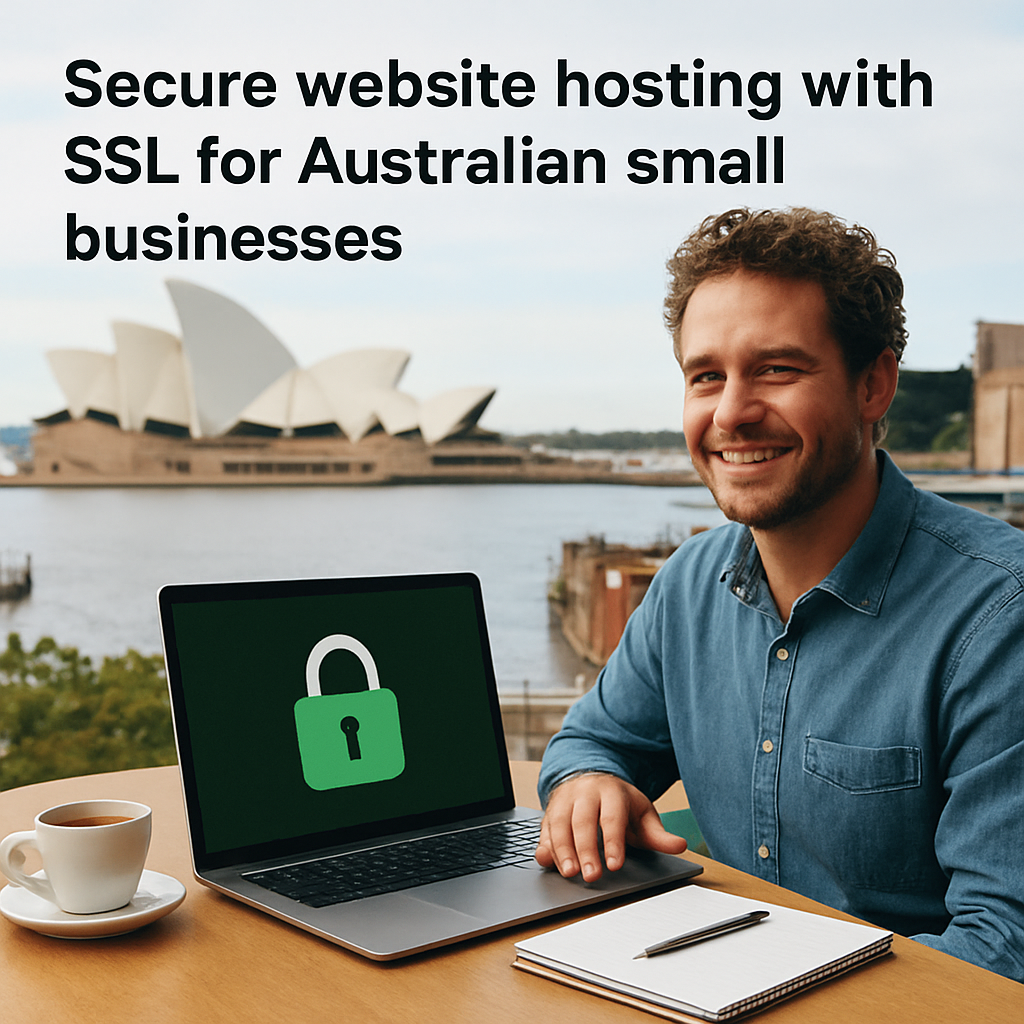
Imagine you’re setting up your online shop in Brisbane and the moment a customer tries to checkout, the browser flashes that dreaded “Not Secure” warning. That little red padlock can turn a promising sale into a lost opportunity faster than a traffic jam on the Pacific Motorway.
That’s why website hosting with SSL is more than a tech buzzword – it’s the digital equivalent of a trusted handshake. SSL (Secure Sockets Layer) encrypts the data travelling between your site and your visitor’s device, keeping credit‑card numbers, contact details and even the occasional late‑night meme safe from prying eyes.
So, what does that mean for a small business owner like you? First off, Google gives a modest ranking boost to sites that serve traffic over HTTPS, which is the secure version of HTTP that SSL enables. In plain English: you’re more likely to appear higher in search results, and higher rankings usually bring more foot traffic – both online and in the physical store.
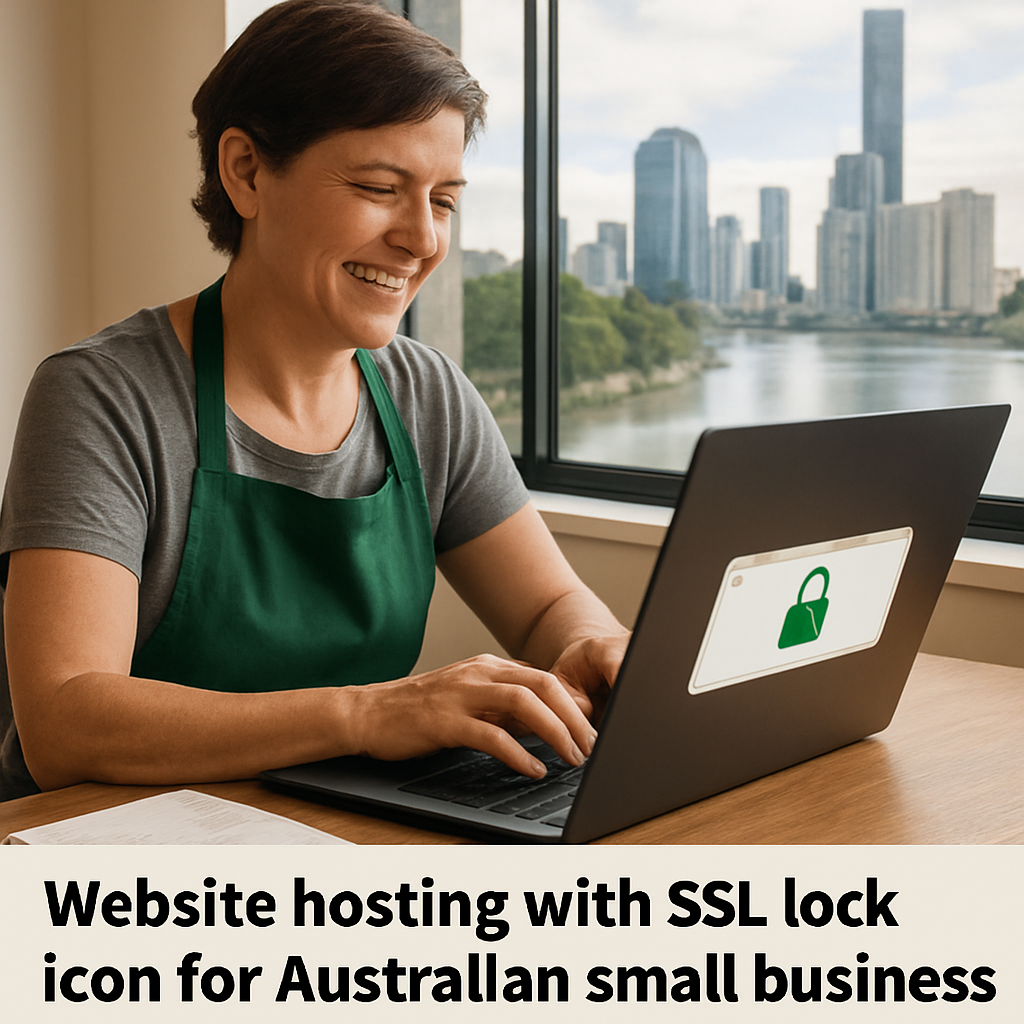
And there’s the trust factor. When shoppers see the padlock icon, they’re reassured that their information is being handled responsibly. A simple visual cue can lift conversion rates, especially for local retailers who rely on community reputation.
Now, you might be thinking, “Do I need a tech wizard to set this up?” Not necessarily. Many Australian hosting providers bundle SSL certificates at no extra cost, and platforms like Free Website Chick handle the installation and renewal for you, so you can focus on stocking your shelves or perfecting your service offering.
But don’t just settle for any SSL. Look for certificates that support modern protocols (TLS 1.3) and offer automatic renewals – otherwise you risk the dreaded “expired certificate” notice that can scare away customers faster than a sudden rainstorm.
In short, website hosting with SSL is a low‑effort, high‑return upgrade that protects your data, boosts SEO, and builds customer confidence. Ready to lock down your site and keep those sales flowing?
🐣 The Chick
Website hosting with SSL gives Australian small businesses a simple, cost‑effective way to protect customer data, boost Google rankings, and build trust with the padlock icon.
Add it today through a managed host like Free Website Chick and enjoy automatic renewals, TLS 1.3 security, and more sales flowing without the technical headache.
Alright, let’s face it – picking a host can feel like choosing a new ute: you want something sturdy, reliable, and not going to break down just when you need it most. The first thing you should ask yourself is, “Does this provider bundle SSL, or will I need to hunt it down and pay extra?” If you’re a Brisbane retailer or a Queensland‑based service business, you don’t have time to juggle separate contracts.
Look for hosts that explicitly list “free SSL” or “included HTTPS” on their pricing page. It’s not a nice‑to‑have, it’s a must‑have – the padlock icon alone can lift trust scores, and Google will thank you with a tiny ranking bump. Many Aussie hosts also tout TLS 1.3 support; if you see that, you’re in good hands.
So, what does a good SSL‑ready host actually provide?
If you have to remember to renew a certificate every 90 days, you’ll end up with that dreaded “Your connection is not private” warning – a nightmare for any small business trying to close a sale. Choose a provider that handles the whole lifecycle for you. Free Website Chick, for example, takes care of the install and the yearly renewal, meaning you can focus on stocking your shelves rather than fiddling with server configs.
Another red flag: hidden fees. Some hosts will charge a “premium SSL” upgrade that’s really just a re‑branding of a basic cert. If the price looks too good to be true, dig a little deeper. A transparent provider will list the certificate type (e.g., Let’s Encrypt, DigiCert) right up front.
SSL does add a tiny amount of overhead, but modern hosting platforms use HTTP/2 and keep that impact negligible. Still, you’ll want a host with solid uptime guarantees – 99.9% is the industry baseline. And when something does go sideways, a responsive help desk can be a lifesaver. That’s why we often recommend pairing your secure host with reliable IT support, like A Practical Guide to Help Desk Outsourcing for SMBs. A quick ticket can sort out a mis‑configured redirect before it scares away customers.
Don’t underestimate the value of local support hours. A provider with an Australian‑based team will understand the nuances of AEST response windows, which can be a huge comfort when you’re juggling orders in the arvo.
When you’re setting up a brand new e‑commerce store, think ahead. Choose a host that lets you upgrade to EV (Extended Validation) certificates later if your business grows and you need that extra level of verification. Also, make sure they support the latest security protocols – you don’t want to be stuck on TLS 1.0 when browsers start flagging it as unsafe.
And while you’re polishing your online presence, don’t forget the offline side of things. A well‑designed flyer or business card that points visitors to your secure website can boost foot traffic. For high‑quality printed materials, we’ve found JiffyPrintOnline to be a reliable partner for affordable custom prints that match your brand.
Here’s a quick checklist to run through before you hit “Buy Now” on any hosting plan:
If you’ve ticked all those boxes, you’re set to lock down your site and keep those sales flowing. Still feeling a bit fuzzy? Dive deeper into managing your whole web presence with our guide on Effective website management for small business. It walks you through audits, security tweaks, and the day‑to‑day upkeep that keeps your site humming.
Finally, remember that a secure site is only as good as the experience it delivers. Pair it with fast loading times, clear calls‑to‑action, and a checkout that feels as smooth as a fresh cup of coffee on a rainy Brisbane morning.
Take the first step, lock in a host that does the heavy lifting, and you’ll soon see the difference a simple padlock can make in customer confidence.
🐣 The Chick
Alright, you’ve just picked a host that promises free, automatic SSL – now it’s time to lock in a domain name and turn that promise into a real, padlocked site. Registering a domain might feel like choosing a name for a new pet: you want it to be memorable, easy to spell, and reflective of your brand in Brisbane or wherever you’re based in Queensland.
Start by brainstorming a few variations of your business name, then check availability on a reputable registrar. If the .com is taken, a .com.au is a safe bet for Australian customers – it tells locals you’re legit and often boosts local SEO. Keep it short, avoid hyphens, and make sure it reads well when spoken aloud – you don’t want someone to stumble over “my‑online‑store‑hq.com.au”.
Pro tip: buy the .com version even if you plan to use .com.au. It protects your brand from squatters and gives you flexibility if you ever expand beyond Australia.
Once you’ve secured the name, you’ll need to point it at your hosting provider. Most Aussie hosts give you a DNS dashboard where you paste the nameserver addresses they provide (e.g., ns1.yourhost.com.au, ns2.yourhost.com.au). It usually takes a few hours for the changes to propagate, but you can test with dig or an online DNS checker.
Don’t panic if the site shows “Not Secure” for a moment – that’s just the browser waiting for the SSL certificate to be issued.
Now the fun part: turning that “http://” into “https://”. With a host that bundles SSL, you’ll typically find a one‑click “Enable SSL” toggle in the control panel. Click it, and the host talks to Let’s Encrypt (or another trusted CA) to generate a Domain Validation (DV) certificate for you.
If you’re curious about the different levels of certificates – DV, OV, EV – the Sectigo guide breaks them down nicely. For most small businesses, a DV cert is more than enough; it encrypts data and shows the padlock without the extra paperwork of organization validation.
After you hit enable, the host will request the cert, install it, and set up automatic 90‑day renewals. A quick refresh of your site should now display the green padlock and “https://” in the address bar.
Open your site in a few different browsers – Chrome, Edge, Safari – and look for the padlock. Click it to view certificate details; you should see your domain name and “Issued by Let’s Encrypt”. If you spot any mixed‑content warnings (like images still loading over http), update the URLs in your site’s code or content management system.
Run a free SSL test (e.g., Qualys SSL Labs) to confirm there are no weak ciphers or protocol fall‑backs. It’s a quick way to catch a mis‑configured server before customers do.
Got a blog at blog.yourstore.com.au or a staging site at dev.yourstore.com.au? Most hosts will cover unlimited subdomains under a single certificate when you enable SSL on the main domain. If not, look for a “Wildcard SSL” option – it’s a tiny extra cost but saves you headaches later.
And remember, the SSL cert is only as good as the domain it protects. Keep your domain registration up to date (set auto‑renew, add a reliable email address) so you never lose the name you’ve worked so hard to build.
So, what’s the next move? Register, point, enable – then watch that little padlock appear and know you’ve taken a solid step toward a trustworthy, searchable online shop.
🐣 The Chick
Now that your domain is pointed and the certificate is enabled, the next thing to sort out is getting your hosting account actually to serve that cert. In plain Aussie English, you need to tell the server, “Hey, this is the lock you should show visitors.”
So, where does that happen? Most Australian hosts that bundle “website hosting with SSL” use cPanel or a similar control panel. If you’ve got cPanel, you’ll find an “SSL/TLS” icon right in the dashboard. Click it, then hit “Manage SSL sites”. That screen lets you see every domain on the account and whether a valid Let’s Encrypt certificate is attached.
If you want to see the full suite of tools cPanel offers for managing SSL and other site settings, the cPanel control panel site gives a quick overview.
1. Open the “SSL/TLS Status” page. You’ll see a list of your domains with colour‑coded icons – green means the cert is active, grey means it’s missing.
2. Tick the box next to your main domain (and any sub‑domains you want to protect) and hit “Install”. cPanel will pull the Let’s Encrypt files you generated earlier and write them to the right places.
3. If you don’t see an “Install” button, you probably need to use the “Manage AutoSSL” interface in WHM. That tool talks straight to Let’s Encrypt and handles renewals automatically. The official cPanel docs walk you through the exact clicks: cPanel’s SSL installation guide.
4. Once the install finishes, refresh the “SSL/TLS Status” page. The green lock should now sit beside your domain name. Open the site in Chrome, click the padlock, and you’ll see “Issued by Let’s Encrypt” – that’s the proof that the server is serving the right cert.
Let’s Encrypt certificates only live for 90 days. Manually re‑issuing them every three months is a pain you don’t need. In WHM, head to “Manage AutoSSL” (Home → SSL/TLS → Manage AutoSSL) and make sure the toggle is set to “on”. By default the provider is Let’s Encrypt, which is already bundled with most cPanel licences.
AutoSSL also supports Server Name Indication (SNI), meaning you can host multiple SSL‑protected sites on a single IP address – a real lifesaver if you’re running a few boutique stores on the same server.
• Mixed‑content warnings – if you still see “Not Secure” after the cert is active, hunt down any hard‑coded http:// URLs in your theme or product images and swap them to https:// or use protocol‑relative URLs (//example.com/image.jpg).
• Self‑signed certificates – cPanel will let you install a self‑signed cert, but browsers will flash a scary warning. Always replace those with a real Let’s Encrypt cert as soon as you can.
• Wrong domain name – double‑check that the certificate’s “Common Name” matches exactly what you typed in the browser, including the “www” prefix if you use it.
Some hosts offer a custom dashboard instead of cPanel. The principle is the same: look for an SSL or Security tab, locate the option to “Add/Enable SSL”, and follow the prompts. If you’re ever stuck, the host’s knowledge base usually has a one‑page walkthrough. For a quick sanity check, you can always run a free test on Qualys SSL Labs – it will tell you if the cert is correctly chained and whether any weak ciphers are still exposed.
And remember, the moment you click “Enable SSL” on your hosting panel, you’ve taken a solid step toward a more trustworthy, searchable shop. Your customers will see that little padlock, and Google will give you a modest ranking nudge – all without you writing a single line of code.
Need a hand getting the whole thing set up? Platforms like Free Website Chick handle the cPanel configuration for you, so you can focus on stocking shelves instead of chasing certificates.
Now that your website hosting with SSL is set up, the real question is – does it actually work for your customers? If you’ve ever seen that little “Not Secure” warning flicker in Chrome, you know the panic that follows. Let’s walk through how you can prove the lock is genuine and fix the hiccups before anyone notices.
First thing’s first: open your site in a few browsers – Chrome, Edge, Safari. Look for the padlock icon next to the address bar. Click it and you should see “Issued by Let’s Encrypt” (or whichever authority you chose). If the lock is grey or missing, something’s off.
Next, run a quick online scan. SSLTrust’s free SSL checker will pull your certificate, show the chain, and flag any weak ciphers or expiry dates. It’s the fastest way to catch mis‑configurations without leaving your desk.
For the tech‑savvy, you can also fire up OpenSSL from the command line: openssl s_client -connect yourdomain.com:443 -servername yourdomain.com. The output lists the certificate details, validity period, and the full chain. If you spot “Verify return code: 0 (ok)”, you’re golden. Anything else is a sign to dig deeper.
One of the most common gremlins is mixed‑content. That’s when images, scripts or fonts are still being loaded over http:// even though the page itself is https://. Browsers will show a “Not Secure” warning despite the lock. The fix? Hunt down hard‑coded URLs in your theme, product images or third‑party widgets and change them to https:// or use protocol‑relative URLs (//example.com/image.jpg). A quick search‑and‑replace in your CMS usually does the trick.
Another frequent snag is an incomplete certificate chain. If the intermediate certificate isn’t installed, browsers may trust the site on some devices but not others. The SSLTrust checker will highlight “certificate chaining” issues. Upload the missing intermediate file via your hosting control panel (cPanel → SSL/TLS → Install and Manage SSL for your site) and re‑run the test.
If any of those boxes are red, follow the steps below to troubleshoot.
| Issue | Tool / Method | What to Look For / Fix |
|---|---|---|
| Missing padlock | Browser address bar + SSLTrust checker | Ensure certificate is installed and domain matches Common Name. |
| Mixed‑content warnings | Browser console (F12) + CMS search‑replace | Replace all http:// URLs with https:// or // protocol‑relative. |
| Incomplete chain | SSLTrust “certificate chaining” report | Upload missing intermediate certificate via hosting panel. |
Once you’ve cleared those hurdles, give your site another round of testing. Run the SSLTrust scan weekly for the first month – it’ll alert you if a renewal slips or a new vulnerability pops up. And remember, most hosts (including Free Website Chick) will automatically renew Let’s Encrypt certs, but it never hurts to double‑check the renewal email.
Bottom line: a healthy website hosting with SSL setup is only as good as the last test you performed. By habitually scanning, fixing mixed content, and confirming the chain, you keep the lock solid and your customers confident.
🐣 The Chick
Alright, you’ve got the padlock showing up and the test suite giving you a clean bill of health. That’s a great feeling, but it’s only the first chapter of a longer story. With website hosting with SSL you’ve essentially built a front door that needs a regular lock‑check, otherwise the hinges can start squeaking.
Most Aussie hosts – including the ones we partner with at Free Website Chick – flip the auto‑renew switch on by default. Still, the safest habit is to log into your control panel once a month and confirm the renewal date. If you’re on a Let’s Encrypt cert, the community thread on Let’s Encrypt renewal issues shows a classic case where a firewall blocked the HTTP‑01 challenge, causing the cert to fail. The fix was as simple as opening port 80 on the public IP and re‑running the renew command.
Tip: add the renewal command to a cron job that emails you the result. If the job ever errors, you’ll see a red flag in your inbox before your customers notice a warning.
Just as you keep an eye on inventory, set up an SSL monitoring service that pings your site daily. UptimeRobot’s SSL monitoring guide recommends alerts at 30, 14 and 7 days before expiry. Those nudges give you plenty of breathing room to troubleshoot without scrambling at the last minute.
When the monitor flags a problem, the first thing to check is the browser console for mixed‑content warnings. Even a single image still loading over http:// will turn the green padlock grey and shake customer confidence.
Run a quick search‑and‑replace in your CMS for “http://” and replace with “https://” or protocol‑relative URLs (//). If you’re using a theme that hard‑codes URLs, consider a child‑theme override – it’s a one‑off change that saves you endless headaches.
After you’ve swapped the URLs, give the site another round of scans in Chrome’s DevTools (F12 → Console). No more “Mixed Content” messages? You’re golden.
SSL is only as strong as the server it runs on. WordPress plugins, PHP versions, and even the underlying OS get regular security patches. Schedule a monthly “maintenance window” where you:
apt update && apt upgrade (or your host’s one‑click updater).These chores take less than an hour, but they stop attackers from exploiting known vulnerabilities that could bypass your SSL protection.
Most hosts store the cert files for you, but it never hurts to download a copy of the certificate and private key after installation. Keep them in an encrypted folder on your local drive or a secure cloud vault. If you ever need to migrate to a new server, you can re‑install the exact same cert without triggering a new issuance.
Bonus: when you move, run the same renewal verification steps we covered earlier. A fresh server with the same cert will still need port 80 reachable for the HTTP‑01 challenge.
Beyond expiry notices, configure alerts for sudden drops in TLS version support. Some browsers start deprecating older protocols (TLS 1.0/1.1) and will warn users if your server falls back. A quick check in the SSL Labs report each quarter tells you whether you’re still on TLS 1.3 – the current gold standard.
If you spot a downgrade, ping your host’s support team. Most managed hosts will push a config change in minutes.
Bottom line: treating SSL like a set‑and‑forget feature is a recipe for disaster. By automating renewals, monitoring health, squashing mixed‑content, updating the stack, and backing up the cert, you keep your website hosting with SSL rock‑solid and your customers sleeping soundly.
🐣 The Chick
When you pair website hosting with SSL and a slow load time, it feels like trying to sprint with a backpack full of bricks. The good news? A few tweaks can shave seconds off every page, keeping your Aussie customers happy and your Google rankings humming.
Modern browsers love HTTP/2 because it lets a single connection carry multiple files at once. If your host still defaults to HTTP/1.1, enable the newer protocol in the control panel – most Aussie managed hosts have a toggle.
Even better, look for HTTP/3 (QUIC) support. It reduces the TLS handshake to almost nothing, meaning the padlock appears instantly. Ask your support team: “Do we have HTTP/3 turned on for our site?” If they say no, a quick config change can give you a noticeable speed bump.
So, what’s the impact? A study by Google shows sites using HTTP/2 load up to 30% faster on mobile – a big win for shoppers browsing on their phones during an arvo coffee break.
Browser caching tells visitors’ devices to keep static files (like logos or CSS) for a set period. Set Cache‑Control headers to at least one week for assets that rarely change.
Next, enable gzip or brotli compression on your server. This squeezes HTML, CSS, and JavaScript down to a fraction of their original size, shaving precious milliseconds off the transfer.
Don’t forget to test your settings with a tool like GTmetrix – the “Fully Optimised” score will tell you if you’ve missed anything.
A Content Delivery Network places copies of your files on servers around Australia – from Perth to the Gold Coast. When a shopper in Cairns requests a product image, the nearest edge node delivers it, not a server half a continent away.
Most Aussie hosts bundle a basic CDN, but if you’re on a tighter budget, Cloudflare’s free tier works fine. Just point your DNS to the CDN, enable the SSL certificate they provide, and you’ll see latency drop.
Imagine a local boutique in Brisbane that added a CDN and watched their checkout page speed jump from 4.2 s to 2.1 s – conversion rates climbed in tandem.
SSL isn’t just about security; it also affects performance. Enable TLS 1.3 – it reduces round‑trips and uses built‑in forward secrecy.
Activate OCSP stapling so browsers don’t have to query the certificate authority each time. It’s a tiny header, but it eliminates a network hop.
Enable session resumption (via tickets or IDs). Returning visitors can skip the full handshake, making repeat visits feel snappier.
Every extra line of CSS or JavaScript adds load time. Use a plugin or build step to strip whitespace and comments – that’s minifying.
If you have several style sheets, combine them into one file where possible. The same goes for small JavaScript libraries.
For images, adopt lazy‑loading: only the above‑the‑fold pictures load immediately, the rest wait until the user scrolls. This cuts initial payload dramatically.
Speed isn’t a set‑and‑forget thing. Schedule a weekly run of Google PageSpeed Insights or Lighthouse. Keep an eye on the “Time to First Byte” metric – if it creeps up, it’s often a server‑side SSL renegotiation issue.
Set up alerts with a service like UptimeRobot to ping your site over HTTPS. If the response time spikes, you’ll know something changed before customers start complaining.
And remember, a fast, secure site isn’t just nice to have – it’s a ranking signal, a trust signal, and a sales signal rolled into one.
Take these steps, run a quick test, and you’ll see your Brisbane shop loading smoother than a fresh‑baked scone. Your customers will notice, Google will reward, and you’ll sleep better at night.
🐣 The Chick
We’ve taken a long walk from picking a host to testing that green padlock, and the common thread has been simple: website hosting with SSL isn’t a luxury, it’s a baseline for any Aussie small business that wants customers to feel safe.
When the lock shows up, you’ve just removed a major friction point – shoppers stop hesitating, Google gives you a tiny ranking nudge, and you can sleep a bit easier at night.
So, what’s the next move? Do you let the cert sit idle, or do you turn the whole setup into a habit that protects your brand day in, day out?
In our experience, the businesses that treat SSL like a regular health check see fewer “Not Secure” warnings and more repeat sales. If you’re ready to lock down your site for good, give your hosting provider a shout or let a platform like Free Website Chick handle the heavy lifting.
Remember, a secure site is the quiet salesperson that works 24/7 – no extra ad spend, just pure trust.
🐣 The Chick
Website hosting with SSL means your site lives on a server that serves pages over HTTPS, encrypting every bit of data between the browser and your shop. For a Brisbane boutique or a Queensland wholesaler, that encryption stops e‑avesdroppers from sniffing credit‑card numbers and builds instant trust – the green padlock tells shoppers “you’re safe here”. Google also gives a tiny ranking nudge, so you’re not just protecting data, you’re helping the business get found.
Free Let’s Encrypt certificates are perfect for most Aussie SMEs – they’re trusted by every modern browser and renew every 90 days automatically. You only need a paid EV or OV cert if you run a financial services portal that requires verified organisation identity. For a retail shop or service business, the DV cert from Let’s Encrypt gives the same encryption and padlock without any extra cost or paperwork.
Most hosts that bundle SSL will show an “auto‑renew” toggle in cPanel or their custom dashboard. Look for a status badge that says ‘SSL active – renewing automatically’ or a notification email each month. If you can’t find it, ask the support team: “Is my Let’s Encrypt cert set to renew without me lifting a finger?” A quick screenshot of the SSL/TLS page will confirm it.
If the padlock disappears after you’ve turned SSL on, the first thing to check is mixed‑content: any image, script or font still loading over http. Open the browser console (F12) and look for ‘Mixed Content’ warnings. Replace those URLs with https:// or protocol‑relative // paths, then clear your cache and reload. A second scan with a free SSL checker will tell you if the cert chain is complete.
Yes – a single Let’s Encrypt cert can cover unlimited sub‑domains if you enable the ‘wildcard’ option, or many hosts will issue a separate cert for each sub‑domain at no extra charge. So your main store, blog.yourshop.com.au and dev.yourshop.com.au can all show the same green lock. Just make sure each sub‑domain is pointed to the same hosting account or that the host supports SAN (Subject Alternative Name) entries.
Adding SSL adds a tiny TLS handshake, but with HTTP/2 or HTTP/3 enabled the impact is almost invisible. To keep things snappy, enable caching headers, gzip or brotli compression, and consider a CDN that serves static assets from an Australian edge location. In our experience, a Brisbane store that switched on HTTP/2 saw page‑load time drop from 2.8 s to 2.1 s – still well under the 3‑second sweet spot.
Treat your SSL like a health check – run a quick scan at least once a month. Free tools such as SSLTrust’s checker (just type “SSL check” into Google) will show you expiry dates, mixed‑content issues and whether the chain is complete. For a non‑techie, the browser’s built‑in lock icon is a good first cue: click it, check the ‘Valid’ dates, and set a calendar reminder a week before renewal.